Having a 3D printer in a studio apartment has certain problems which need to be solved before it can you can really enjoy using it.
The 3 main problems are:
- Space Some 3D printers can be pretty big which can take a lot of precious space in a studio apartment.
- Noise Every 3D printer makes noise, but the problem becomes more apparent when you live in a studio apartment: there is no garage or a closet in where you can put your 3D printer. While I didn't mind the noise after I got the printer it got annoying after a while.
- Smell and toxicity While PLA is generally considered non-toxic (something I don't want to test anyway) it produces a distinct smell which some might find unpleasant. If you plan on printing ABS or other materials you really should contain the fumes anyway.
In this article I'll describe my setup which solves the problems above and introduces additional "quality of life" improvements.
3D Printer
I needed a small, cheap 3D printer, so I decided to get Ender 2 from Creality.
It's an excellent printer for the price which ticked all the boxes for me:
- Its outer dimensions are quite small
- Cheap
- Produces good quality prints
It had a couple of issues that needed to be solved for a better experience, but nothing impacting quality of prints.
Airtight enclosure
After using the printer for a few weeks I realised that it's not sustainable without an enclosure: having to drag the whole thing into the bathroom and turning on the fan was annoying. Also, 3D printer in a bathroom is probably a safety issue as well.
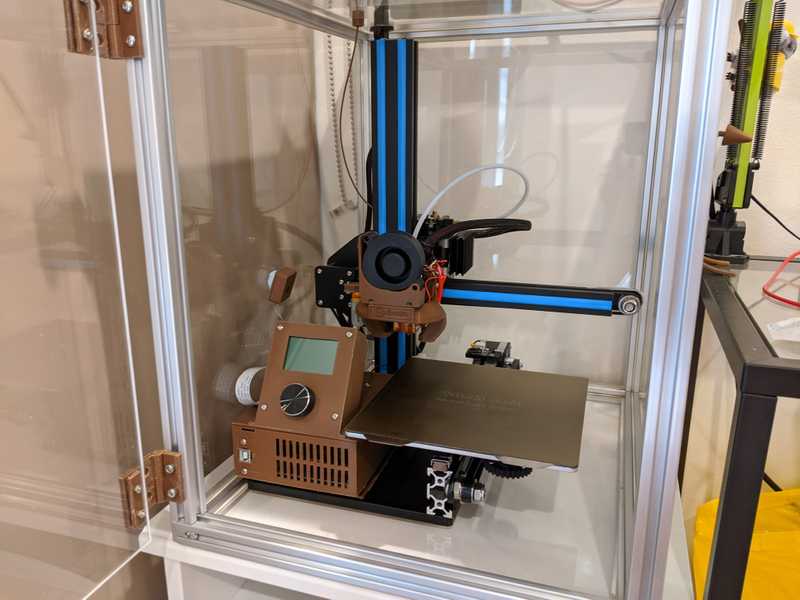
I've decided to build the enclosure from 4.5mm acrylic sheets and 2020 t-slot aluminum extrusion profile.
Very happy with the final result:
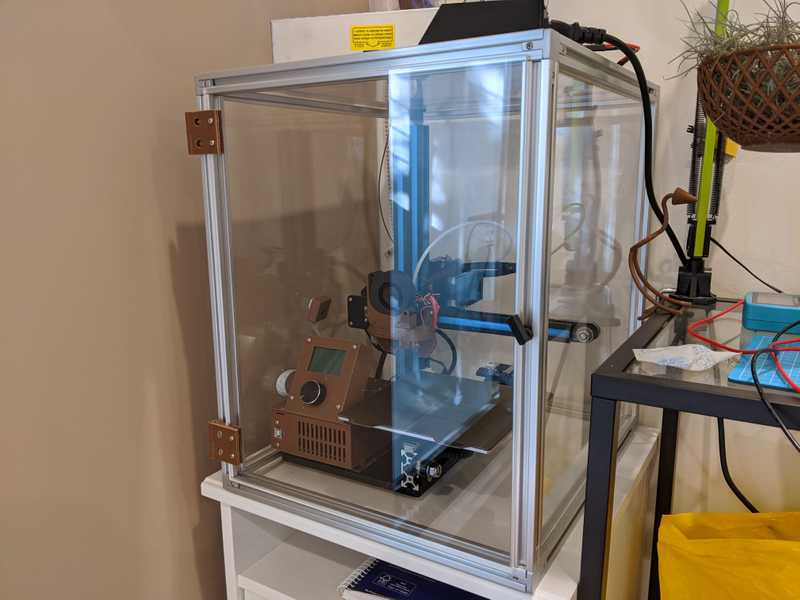
This is how it looks with door closed:
It successfully blocks the noise and keeps the fumes inside the case. I just need to open the balcony door when opening the case to air it out after the print.
Filament feeder
The filament is placed on top of the enclosure and it needs to be able to reach the printer.
The first solution was a simple 8mm hole in acrylic, and it worked well, but it made the case less airtight and was allowing some noise out.
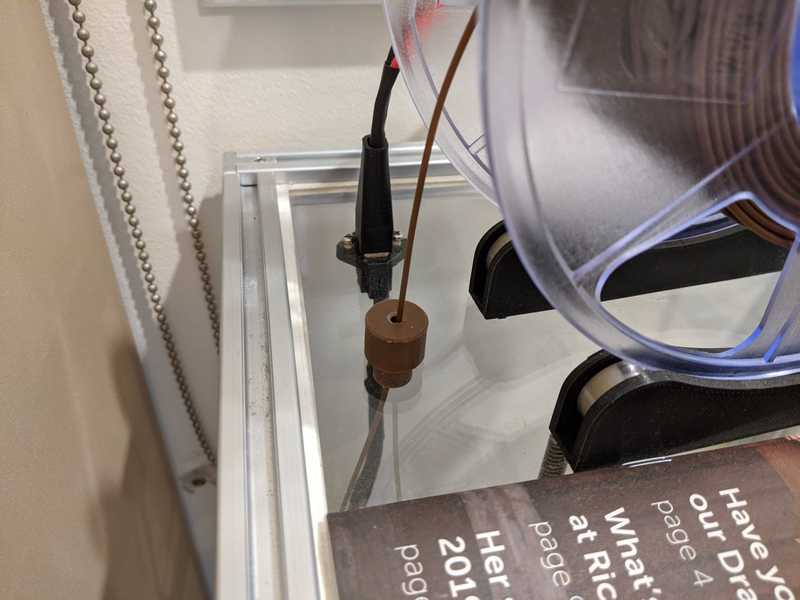
The solution was a special cup with a chamber for a sponge. The bottom part of the cup is screwed to the acrylic and then a piece of sponge is placed in the chamber. The filament goes through the sponge into the enclosure. This way it's cleared from dust and it makes the enclosure quieter.
Here is how it looks:
Power supply
By default, power block is connected permanently to the printer which didn't work for me, I wanted to have the power supply outside the enclosure because keeping it inside would make enclosure bigger and more importantly power supply needs cooling and the air inside can get to about 40C while printing.
This was solved by attaching a couple of matching XT60 connectors, one part on the inside of enclosure (attached by m3 screws) and another on the outside.
When I need to take the printer out I need to disconnect the power supply on the outside and unscrew the inside connector. Not ideal, but it keeps the case airtight.
Here is how it looks:
While I was at it I also added a cover to the power supply and added a power switch and cable connectors, this way it's fully modular.
The default fan is quite noisy, and since the power blow is outside the case I needed to make it quieter.
The stock fan was replaced by 40x20 Noctua fan. It didn't fit inside because of its dimensions so I had to cut a hole for it with Dremel and then glue the elevated fan with a glue gun. It's not pretty, but it works ;) And it's super quiet.
Another power supply mod was adding a KSD9700 thermal switch. Here is the instructional video.
This makes PSU completely silent for a while, but for longer prints its on all the time anyway.
Printer mods
While Ender 2 is a great cheap printer it has its quirks and it needed some work to bring it to the level of quality I wanted.
Fans
The stock fans are quite noisy, so I had to replace them with Sinon 40x10 fans, which are much quieter.
I used DigiKey to find appropriate fans (you can filter by anything, but the most important are the air flow, noise level and of course the fan voltage).
This made a noticeable difference with an open enclosure, but when the door is closed it's quiet either way, so for me it's an "extra mile" kind of thing.
MKS Gen L board and tmc2208 drivers
Stepper motors in 3D printer are controlled by specialised boards called "drivers". Turns out the advanced ones can make your printer silent.
By default, Ender 2 has A4988 drivers which are simple, don't require heat sinks, and cheap, but they are noisy.
TMC2208 are expensive, need heatsinks, but they are worth it big time!
You'll need to upgrade the whole board to be able to use them. The one I used was MKS Gen L following this tutorial.
It has a formula which allows to calculate the correct vRef values, but they were too high for my printer which made the motors overheat inside the enclosure.
Instead of using the formula I just calibrated them by hand using some GCode commands, the printer is still as reliable as it was, but the motors are not overheating.
BLTouch
One of the requirements I had for my printer was being able to turn the printer on, select the print and be able to go on with my day (while being in the same room as the printer, never leave a 3D printer unattended!).
I never had any luck properly leveling Ender 2, and BLTouch was one of the solutions to solve bed levelling (second one is a "Linear Rail" mod).
I used a cheap clone first which did a good job, but would fail to start sometimes, so I switched to an original version after about 6 months.
Linear rail mod
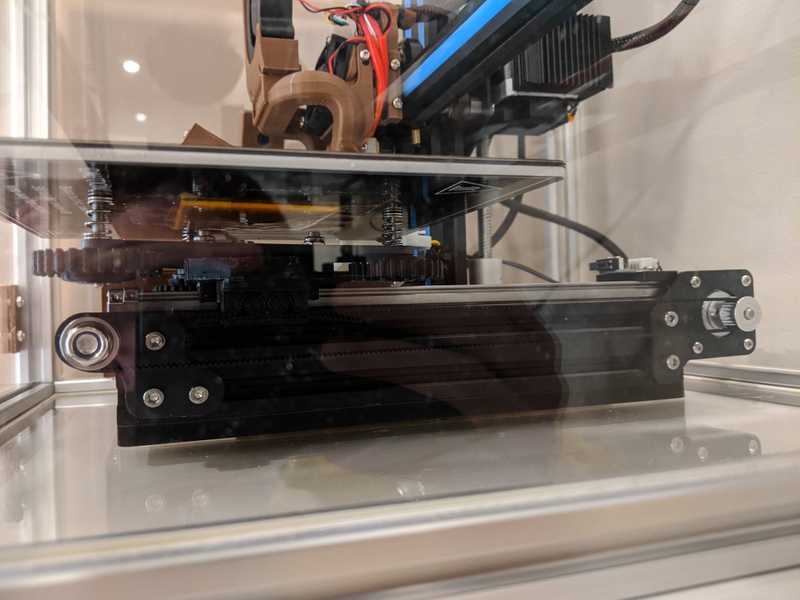
Original Ender 2 design of Y-axis has a flaw as it forces the build plate down towards the end of the "runway".
The belt forms a triangle which produces this downward pull.
Luckily there is a fix which includes placing the build plate on a linear rail and printing a belt holder so its bottom part is always parallel to the upper one which eliminates a downward pull.
Bullseye fan
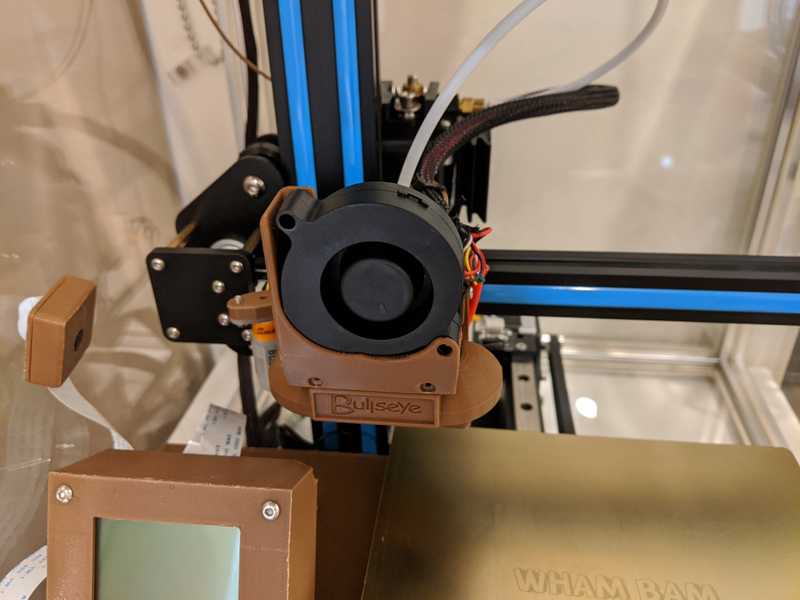
One of the mods was a "Bullseye" fan duct.
It was easy to print and assmeble:
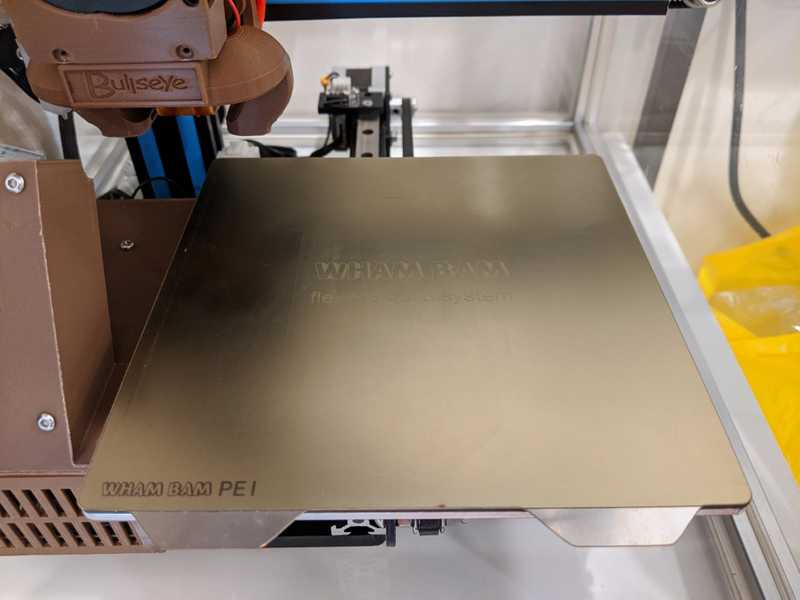
Wham Bam
I can not recommend Wham Bam (or similar PEI surface) build plate enough! I tried the stock one, the glass one and the alternative magnetic place (the one with a soft material). Out of those Wham Bam has been the best: excellent adhesion, bottom print surface also looks great:
