Getting a good camera during COVID-19 pandemic is not easy. With the initial surge of demand prices skyrocketed, and even now high-quality webcams are overpriced.
I wanted to get one for two reasons.
Firstly, I'm not satisfied with the quality of the built-in camera of my work Macbook.
Secondly, the placement of a laptop camera is not ideal, I prefer when a camera is higher, so people don't have to look up my nose ;)
I wanted something with a good low-light performance and a high resolution, but cameras like Logitech Brio and Logitech Streamcam cost hundreds of dollars.
Another solution I considered was a used GoPro with a capture card which was marginally cheaper, but a bit bit of a clunky solution.
So I stopped searching for a few months, because I wasn't satisfied with the options I had.
Then I stumbled on this project: Raspberry Pi 0 HQ USB Webcam
Raspberry Pi 0 HQ USB Webcam
That was exactly what I needed! It's a DIY webcam which uses Raspberry Pi Zero board with Raspberry Pi High Quality Camera.
Huan Truong did an amazing job with creating a Buildroot-based OS with a read-only filesystem which makes Raspberry Pi boot up in seconds and there is no damage to an SD card when it's unplugged from USB.
What we have as a result:
- Linux-based camera
- High-quality sensor(12.3 megapixel Sony IMX477 sensor)
- Ability to hack it and adjust to your liking
- Cheaper solution than any other to get this level of image quality.
3D-printed enclosure
The camera needed a case, but luckily I have a 3D printer and OpenSCAD installed.
This is not the best print, because the nozzle was too high on the first layer, but it does the trick and I didn't want to waste PLA for cosmetic reasons only. Next time I tweak the design I'll print it in a better quality and update the photo.
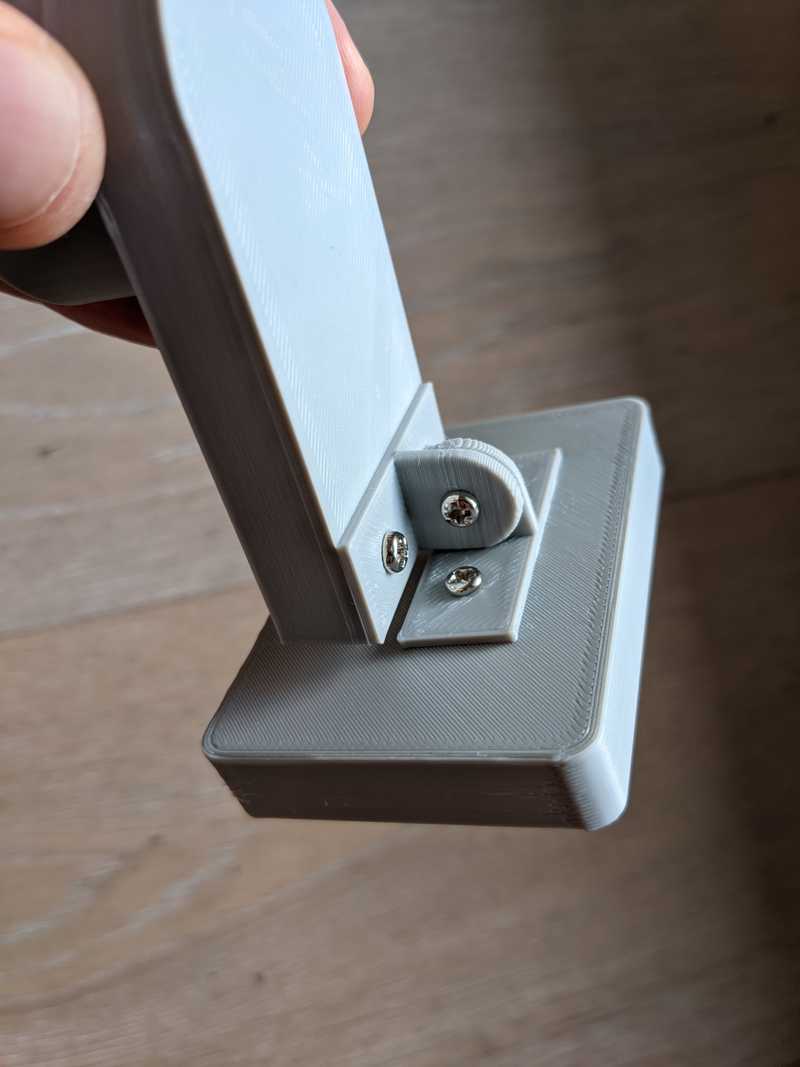
Mounting
Webcams usually come with crappy monitor mounts which always shift under the cable weight and when trying to adjust an angle of the camera.
I feel like the best solution is to design the mount for a specific situation or monitor, so I left 2 holes on the back of the case to attach a custom mount.
In my case I have a monitor arm which is attached to a "pipe". This is a very good place to attach a webcam mount to:
LED and hacking
One of the benefits of this camera is its "hackability". The source code is available and the thing is based on Raspberry Pi, so there are a lot of things that can be done to improve the camera.
What was missing for me is an LED to light up when the camera is in use.
Adding it wasn't too hard, I just had to find a place in the code which is called when the stream starts/stops and enable/disable a GPIO pin.
So now I have an LED, but to be fair this is a feature every webcam has.
The difference here is that I can choose the arbitrary size/brightness of an LED. You can even attach the pin to a big "ON AIR" sign which lights up whenever you use the camera, so your housemates know that the camera is on :)
The source code and STLs can be found on my Github: https://github.com/Leonti/rpi-hq-camera-case

